If you’re looking for a calming and cutesy new craft to try out (and make your bedroom smell *amaze*), it’s time to get into DIY candles. These delish-smelling creations make the perfect gift or decor…and only require a few steps to make totally yours.
Step 1: Choose a wax
There are four main wax options you can choose from: paraffin wax, soy wax, beeswax or coconut wax.
Pros of paraffin wax: Inexpensive, easy to work with and can hold fragrance and scents really well.
Pros of soy wax: Has a slow and steady burn and is eco-friendly.
Pros of beeswax: Natural subtle scent, eco-friendly and a harder wax (meaning it’s great for pillar candles).
Pros of coconut wax: Holds color and scents really well, eco-friendly and has a clean burn.
Step 2: Choose a fragrance
When it comes choosing your signature scent, the world is your oyster. Think about the vibe you want to curate: Cozy and warm? Go for scent notes like vanilla, cinnamon and sugar. Fresh and clean? Linen, bergamot and jasmine are perfect picks. Sleek and spa-like? Say hi to eucalyptus and lavender. Oh, and if you need to get inspired, Vinevida has a huge collection of luxe candle fragrance oils to browse.
Step 3: Melt the wax
There are two main ways you can melt your wax. The first is in a microwave with a glass container. Put it in for short 30-second bursts at a time, stirring in between until it’s completely melted. This method works best with soy, coconut and beeswax—but not paraffin. If you’re using paraffin wax, you’ll need to use the double-boiler method (aka heating your wax over the stove in a pot). Pro tip: Ask for help from a parent, older sibling or guardian when melting.
Once melted, you can add in your fragrance.
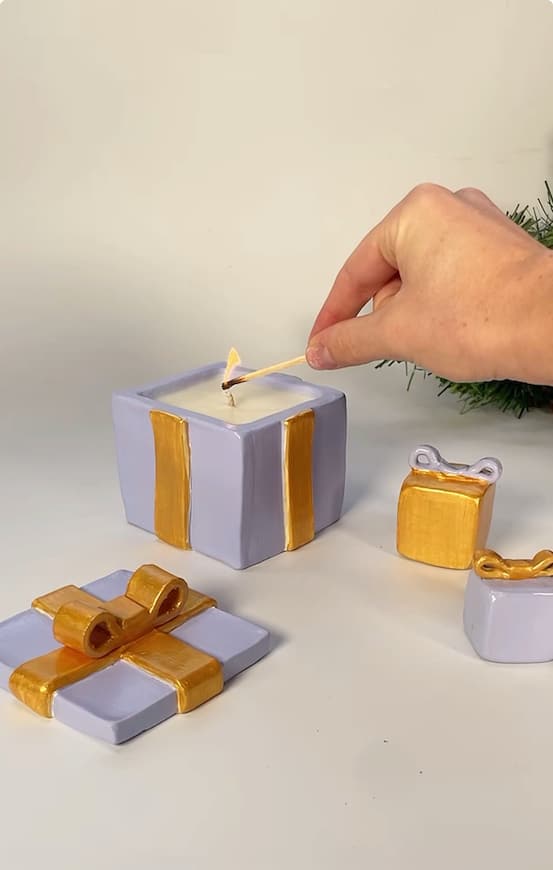
Step 4: Choose a container
You’ll need a container to hold your beautiful new candle, and this is where you can let your creativity shine. You can use a glass Mason jar, tin containers or even a ceramic cup. You can easily spruce up your containers by tying a ribbon around them or using acrylic markers to draw some personalized designs. Or, head to a local homeware or thrift store and search for teacups, vintage jars or empty glass boxes for a v. unique spin on your candle.
Want to make taper candles? You’ll need a silicone mold (snag one from Michael’s for $18).
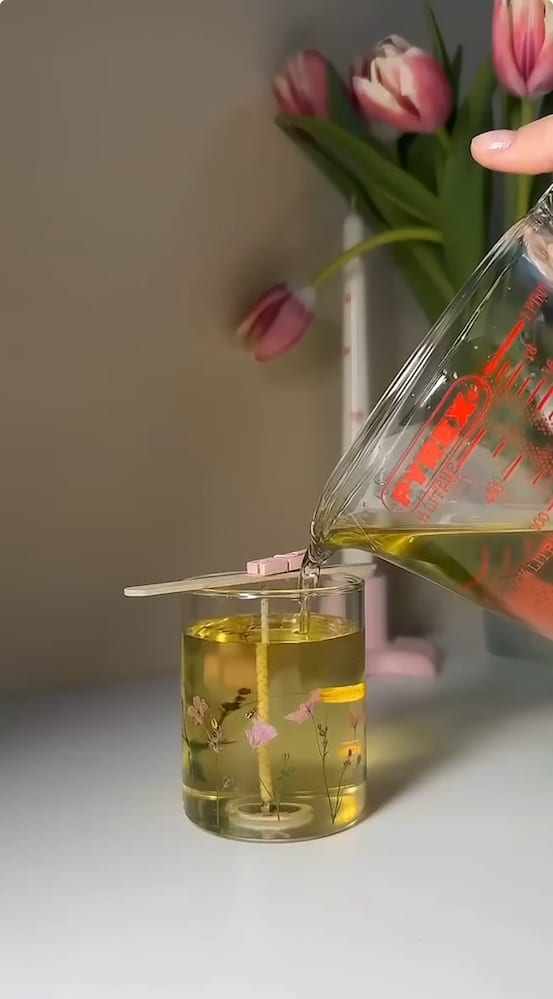
Step 5: Attach the wick and pour the wax
Attach the wick (you can grab a pack of them from your local craft store) to the bottom center of your container of choice with a dab of glue. Position two chopsticks lengthwise on top of your container, letting the wick lean against them so it stays centered and upright. Pour the melted wax into the container and wait for it to harden (best to wait a couple hours before lighting your candle for the first time).
Tag us on IG @girlslifemag with your candle creation!
For more cutesy DIYs check out these articles!
🌟Air dry clay is about to be your new crafty obsession
🌟Make a BTS scrapbook that is totally *you*
🌟Make your playlists last forever by burning CDs
Top and slider image: @bougie_wax
Body images: @glowheaven_candles, @sculpdit